When making kefir with nut milks or coconut milk it is absolutely vital to understand that the grains do not get any nutrients from these milks and will perish If this is the only milk type you sit them in. When you first receive your grains you must sit them in cows/buffalos/goats milk for twenty four hours, sieve through, and then give them more cows/goats milk. It is extremely advisable to do this at least three times. This not only helps the grains settle but also feeds them up. The milk grains eat the lactose in cows/goats milk to survive and thrive. This isn’t there for them in nut milks.
In order to keep your grains happy and healthy you must operate a rotation system once you have done your three diary milk changes you can now use nut milks to make your vegan kefir. Sit your grains in the nut milk for twenty four – forty eight hours and then sieve them through as the standard instructions advise. Then after 2-3 brews sit your grains back in full fat cows/goats milk for twenty four hours so they can feed. As long as you continue on with this rotation your grains will happily make your probiotic for you while staying happy and healthy too!
You must ensure that the grains are put back into dairy milk AT LEAST one in every 3 brews otherwise they will perish.
Please also note that non-dairy kefir is often not as thick and yogurt as dairy kefir. This is due to the fat content in the milk. Some nut milks will not get thick at all (although they do ferment) so please do not expect to get the same texture with nut milks.
Coconut Kefir recipe
This can be adapted for most nut milks however some are more successful than others.
Ingredients
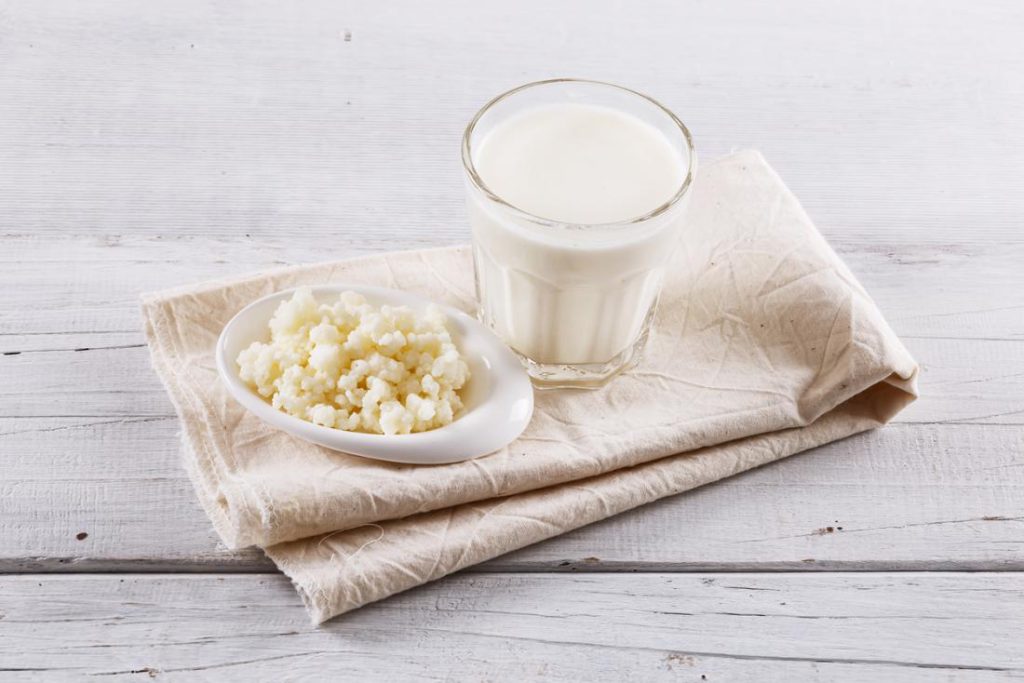
- Milk kefir grains
- Coconut milk: Fresh homemade, canned or boxed. We recommend avoiding brands with additives and sweeteners as they can be hard on the kefir grains (guar gum, which is a typical additive, does not seem to be problematic).
Instructions
- To make coconut kefir, just place the milk kefir grains in coconut milk, give the coconut milk a quick stir with a non-metal spoon, cover loosely (a towel works great), and allow the coconut kefir to culture on the counter for 12 to 24 hours.
- After 12 hours, check the coconut kefir every few hours (as possible) so you can remove the kefir grains once the coconut kefir reaches the desired consistency. If your home is on the cool side, it can take a few hours longer for the milk kefir to culture.